"Installing Windows 7 Virtual PC - Windows XP Mode (Step-by-step Guide)"
Windows 7 virtual PC? Well, it's actually running the Windows XP mode in Windows 7!
Yes, Windows XP Mode (XPM) is available for the following Windows 7 editions: Professional, Ultimate, and Enterprise.
Using Windows Virtual PC, you can run many older Windows XP applications within Windows XP Mode and launch them from the Windows 7 desktop with just a single click.
Note: To run Windows Virtual PC, your computer CPU has to have the Intel VT or AMD-V hardware virtualization features enabled in the BIOS.
If you don't find the Windows Virtual PC on your Start menu, you'll need to get two things: Windows XP Mode and the Windows Virtual PC package.
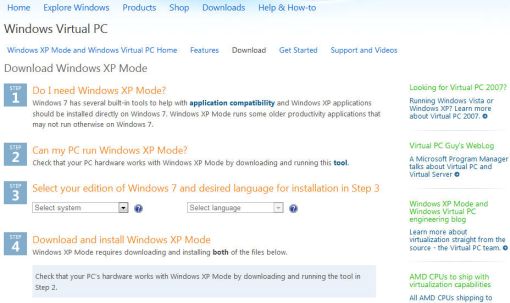
To get both packages, go to the Microsoft site, download and install the XP mode.
As you can see, there are four steps to complete the download process. If you are sure that you need the Windows XP mode, proceed to step 2 to check the hardware by downloading the Microsoft Hardware-Assisted Virtualization (HAV) Detection Tool.
After download the tool, run and make sure your computer is capable of running Windows XP mode.
In step 3, you need to select your edition of Windows 7 and desired language for installation.
Finally step 4, you need to download Windows XP Mode and Windows Virtual PC that will install on your Windows 7 computer.
I suggest you download the 2 files first only you start to install the packages.
The Windows XP Mode package (about 470 MB) contains the hard disk image of an actual Windows XP installation (with Service Pack 3 applied).
The next step is to download and install Windows Virtual PC (about 10 MB). Once Windows Virtual PC is downloaded, proceed with the installation. The following are the installation steps:
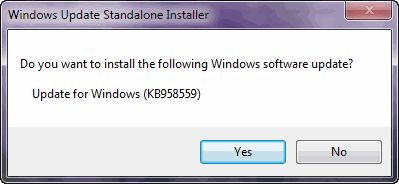
Double-click on the downloaded file (Windows6.1 - KB958559-x86) to begin the installation process.
From the dialog box displayed, click Yes to continue with the software update.
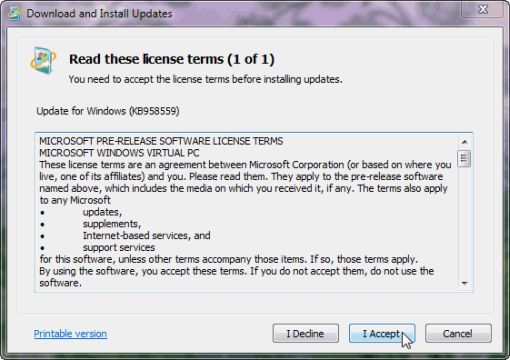
In the License Terms window, read and click I Accept to begin the installation.
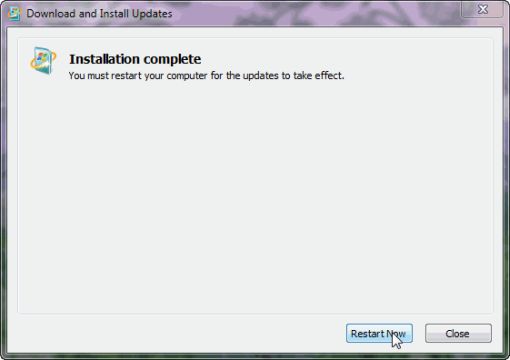
When the installation complete, click the Restart Now button to reboot the computer.
Once you have installed Windows XP Mode, click the Windows 7 Start button, then select All Programs - Windows Virtual PC - Windows XP Mode to begin setup.
The first time you launch it, Virtual Windows XP will set itself up for first-time use. This can take a bit of time (five minutes or more).
Microsoft Windows 7, Vista, XP, Microsoft Office Word, Excel, PowerPoint,
and Outlook are either registered trademarks or trademarks of
Microsoft Corporation in the United States and/or other countries.